
Printrbot PSU upgrade
The place that I work often throw things away that are useless to them, however this does not mean that they useless things.Being a student on tight budget you learn that it would be pointless to waste nice things that get thrown out. This week I managed to pick up a 350W ATX powersuply.
My printrbot came with a 250w psu so this would make a nice upgrade. Because the new one cost nothing i can hack/mod it without feeling to bad if I break it. The original powersupply had ALL the cables you would usually find inside a computer, as 90% of these were not needed they ended up just getting in the way. the printrbot also requires a link inserted in the powersuply to turn on, this link often comes loose and I don’t trust it during long prints.
After opening the supply I cut out all unnecessary cables then de-soldered the loose ends from the PCB. I wired the start-up line to ground so that the unit is always on then bradded the power cable to tidy it up. As it runs very quietly I also decided to add a small red led strip inside so that I can see when its on. I have also found that the printrbot cable management is not great and the bed often catches trailing cables from the extruder. Messy cables annoy me and I decided to fix this. I bradded all cables that go to the extruder as well as the x stepper cables and bed cables.
") Happy with today’s work I can now relax knowing that Sunday has not been wasted.
Happy with today’s work I can now relax knowing that Sunday has not been wasted.
Getting my print on again.
Getting my print on again.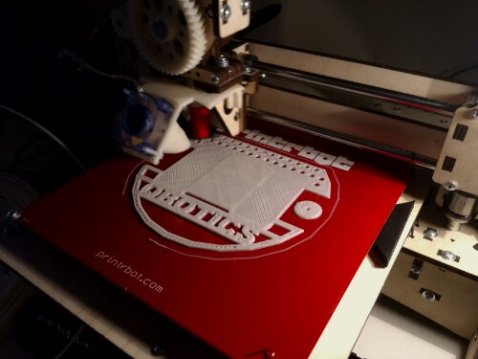

Printing cookie cutters
Printing cookie cutters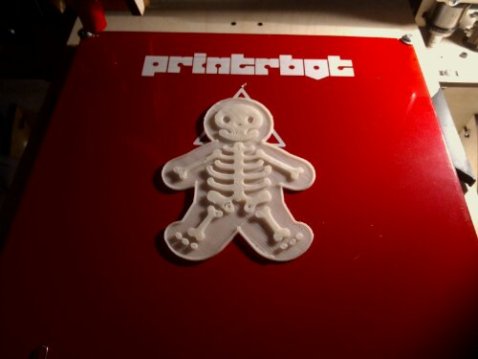

attempt to print cookie cutter 😛
Print bed upgrade . . . Kind of
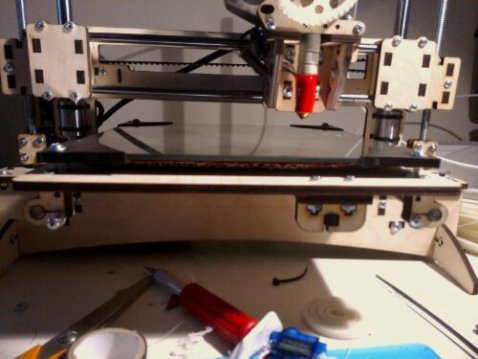
So today I decided to upgrade my print bed to something a bit stronger. I have read that many people use a glass printbed so decided this would be a good idea.
firstly I found a piece of mirror that was the correct size. I realised that I needed to drill holes in the corner to screw it down. 4 mm in and 1 drill battery later I realise that you cant drill glass without a glass drilling bit. TO PLAN B, I cut the corners off and mounted this to my print bed with the protective frame corners that the mirror came with. whilst I had the print bed off I also added some cardboard to the under side to provide some insulation as I have been having problems getting the bed to temperature. When I powered it up I instantly noticed it was heating up much quicker and when it reached temperature it was much more stable.
 It seamed to be going well but then as I started printing I realised that nothing was sticking to the bed. the surface of the glass is to smooth for the ABS to grip to. I tried to rough it up with some sand paper but this didn’t have much effect. after doing some research it turns out that glass is only suitable for PLA. some have had success with sand blasted glass but as I don’t have a sandblaster to hand I cant really try it.
 LESSONS LEARNED :
1. insulating the underside of your heat bed makes a big difference.
2. glass print beds should not be used when printing ABS
3. don’t try to drill holes in glass, if you don’t have the correct equipment its just not going to happen.
After some calibration I’m printing at 0.1mm layer helight.
 After some calibration printing at 0.1mm layer height looks reasonable
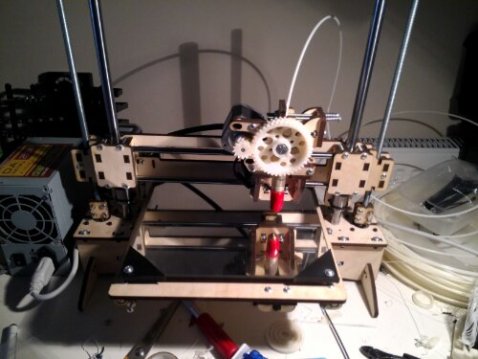
First print on my printrbot plus
 First print on my printrbot plus
Just finished building my Printrbot+
Now i can print all of the things
